Create an Account
The creation process registers a new Agni organization and sets up your initial administrator account.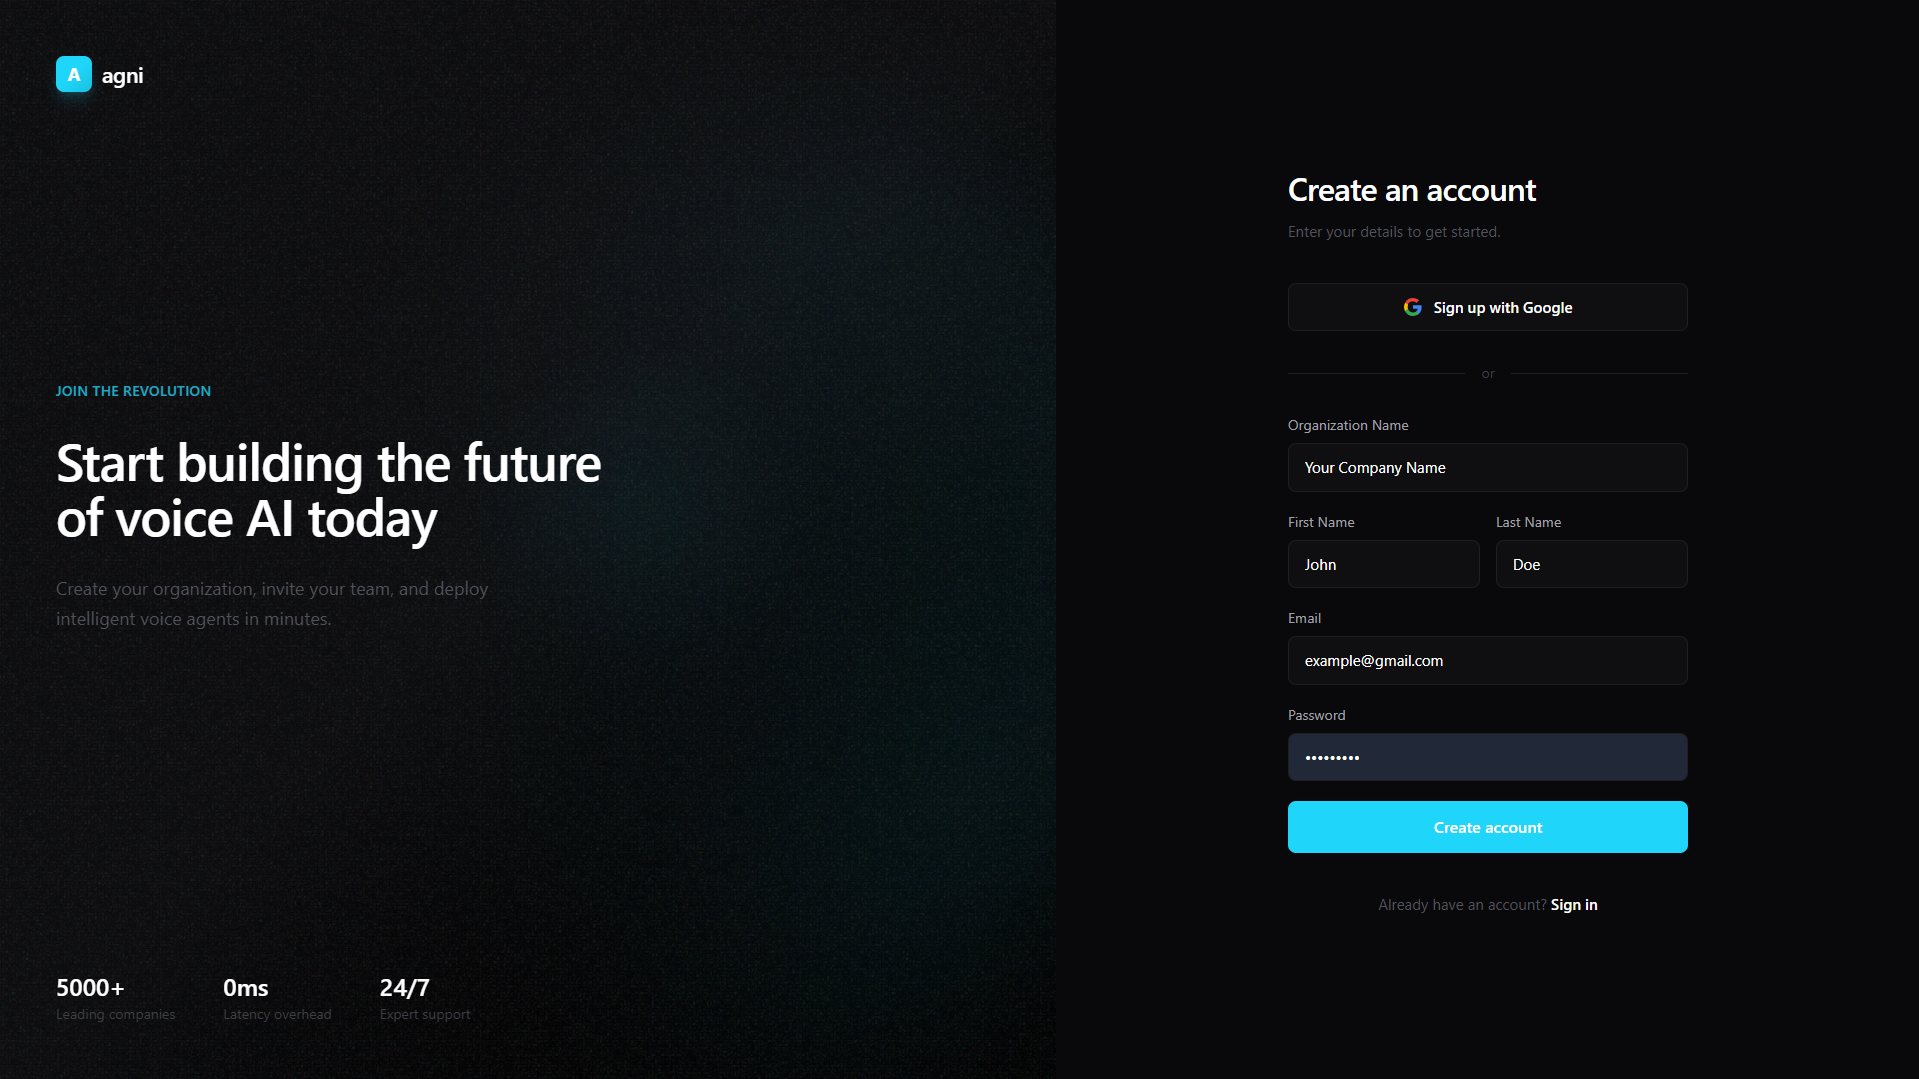
Registration Steps
Navigate to Sign Up
Open the Agni Web App and click Create an account.
Choose Authentication Method
You can securely click Sign up with Google for single sign-on (which bypasses manual email verification), or proceed with a standard email registration.
Enter Organization & Personal Details
If using email, provide your Organization Name, First Name, and Last Name. Your organization acts as the top-level container for your agents, phone numbers, and billing.
Set Credentials
Enter a valid work Email and a secure Password (minimum 8 characters), then click Create account.
Verify Your Email
If you registered via email, you will be redirected to the verification screen. Check your inbox for an email from Agni AI.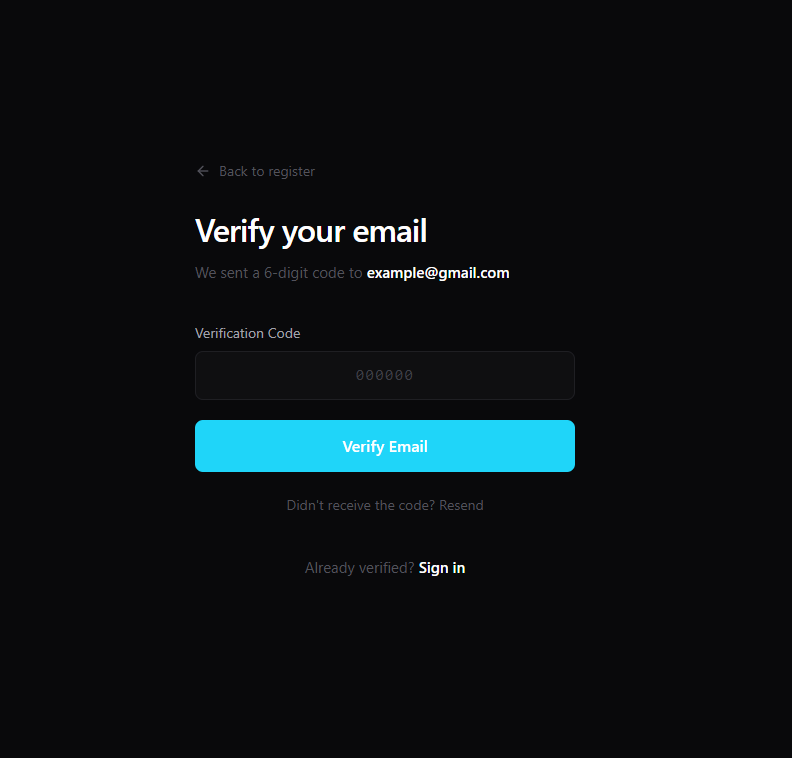 You can either click the Verify Account button directly in the email, or copy the 6-digit code provided and enter it manually into the verification screen.
Security Note: Verification codes are only valid for 10 minutes. If your code expires or you do not receive the email, click Didn’t receive the code? Resend on the verification screen.
If your email is already registered to an existing workspace, Agni will prompt you to sign in instead.
Log In
Access your existing Agni workspace to manage agents, configure telephony, and retrieve your API keys.
Sign In Steps
Navigate to Login
Open the Agni Login Page.
Authenticate
Click Continue with Google if your account is linked to Google Workspace, or enter your registered Email and Password.
If you lose access to your account, use the Forgot? link above the password field to initiate a secure password reset workflow.
Next Steps
Once authenticated, you will need to generate an API key from your dashboard to interact with Agni programmatically.API Authentication
Learn how to authenticate your API requests using your X-Api-Key.
Create an Agent
Deploy your first real-time voice agent via the API.