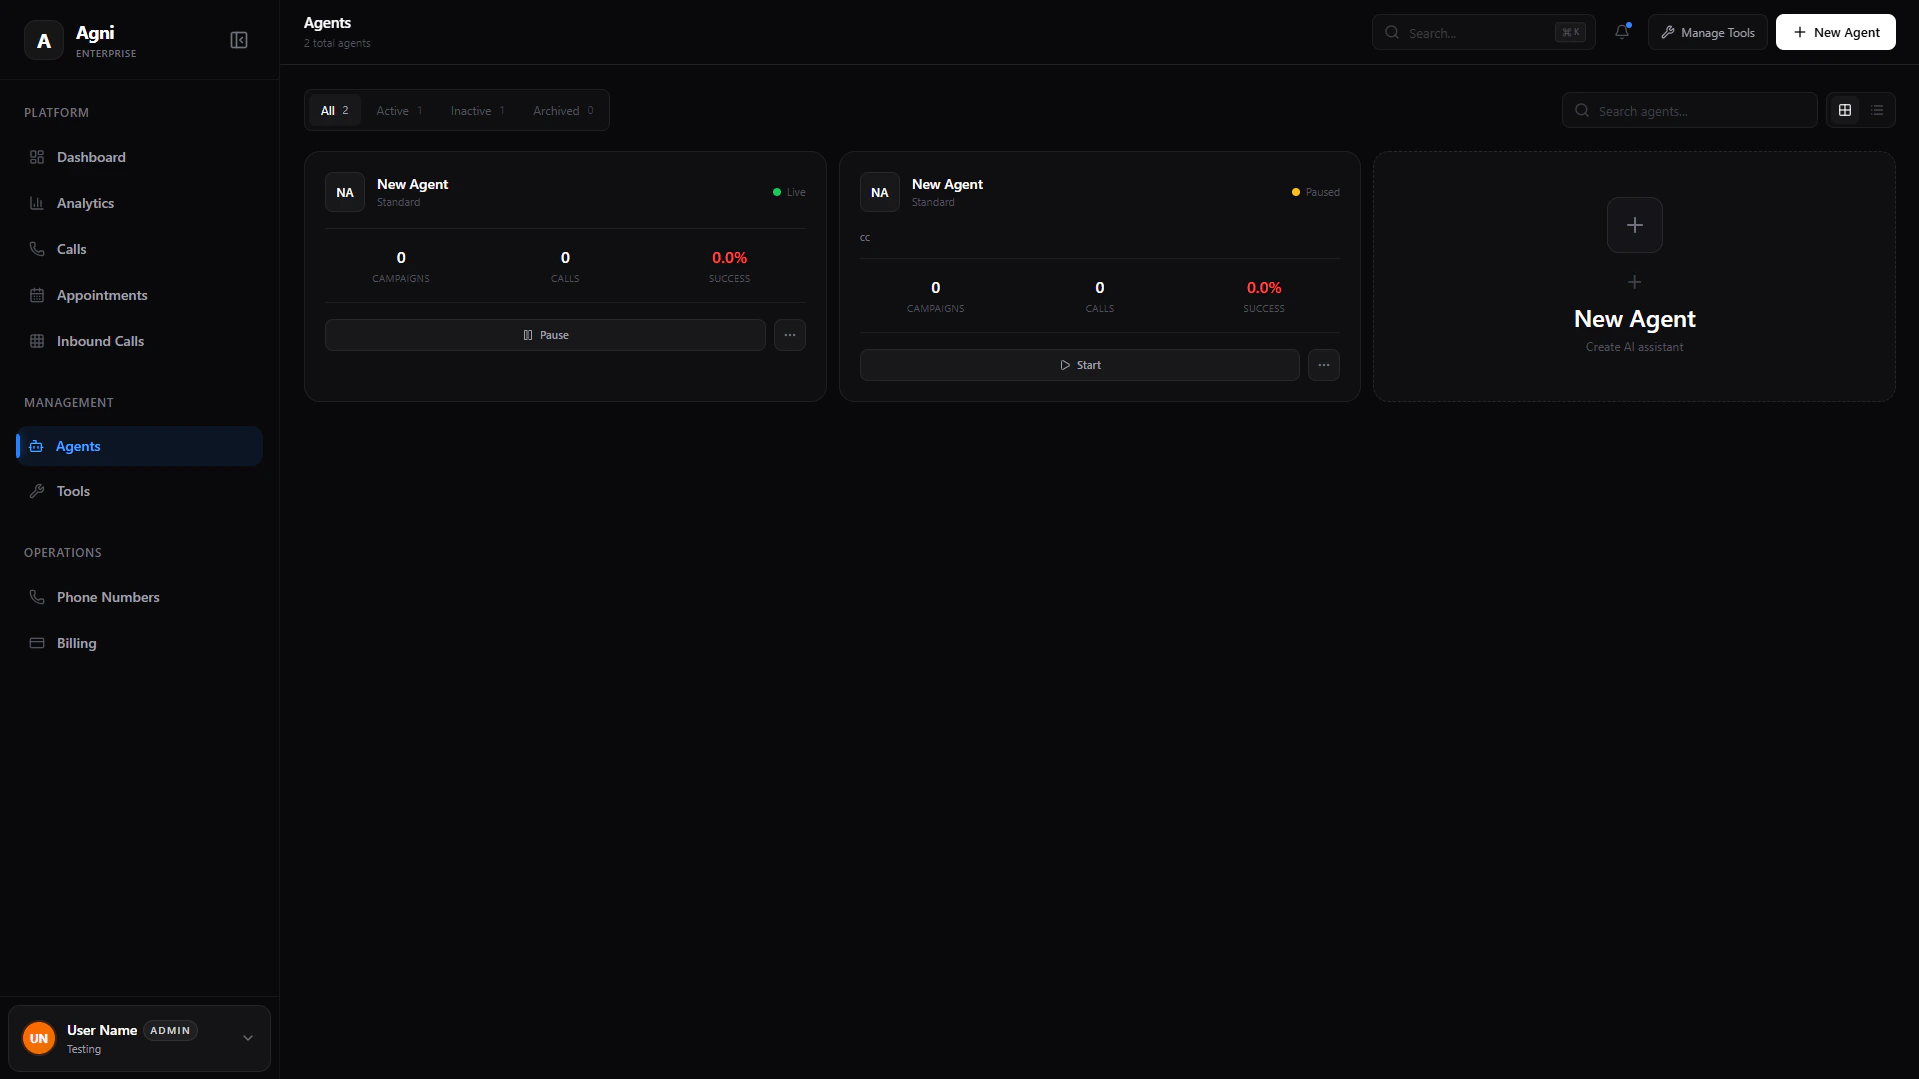
Creating a New Agent
When you click + New Agent, you are taken to the agent builder interface. This is where you define the agent’s behavior, knowledge, and capabilities.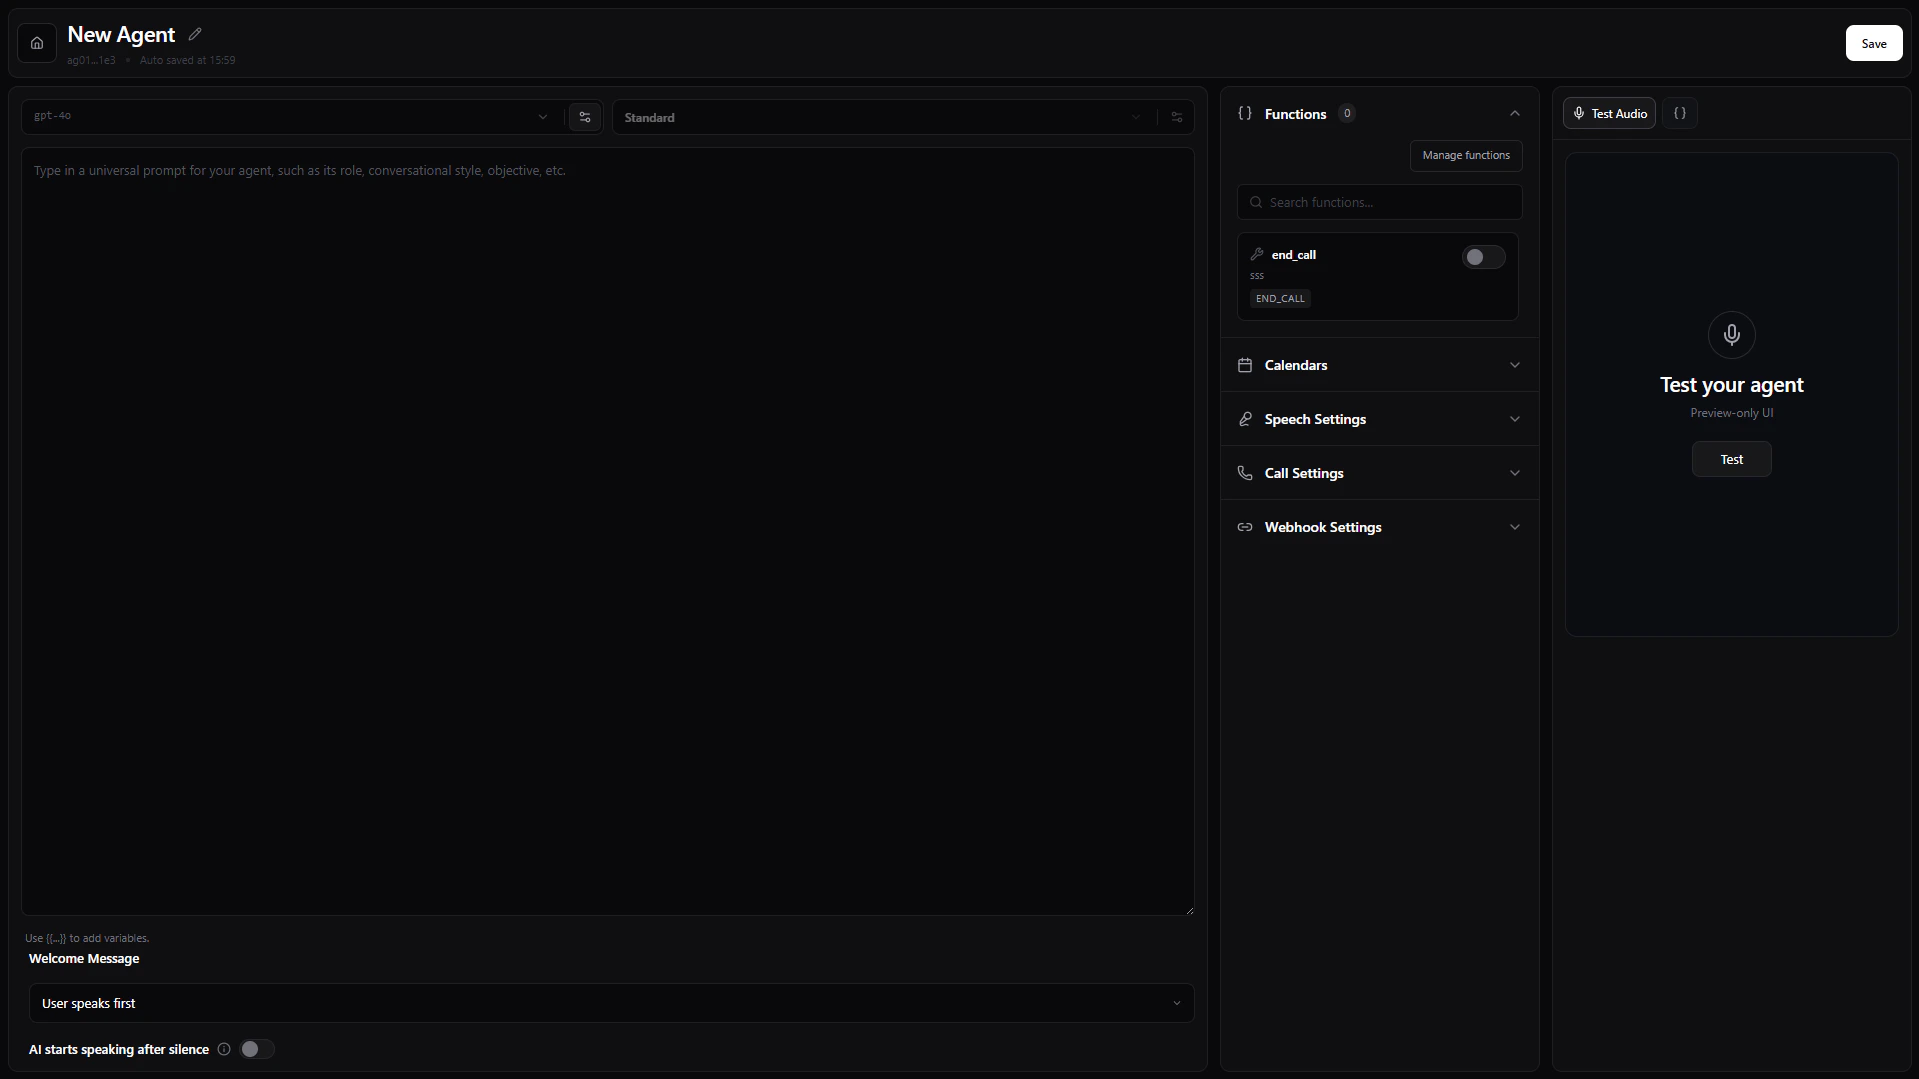
Prompt & Dynamic Variables
The main text editor is where you write the System Prompt, defining the agent’s role, objective, and conversational style. You can inject Dynamic Variables into your prompt using double curly braces (for example,{{user_name}} or {{company}}). During live calls, you can pass values into these variables via the API to personalize the conversation. When testing your agent in the dashboard, any variables you define will automatically generate an input field in the testing panel so you can simulate dynamic data.
Pro Tip: Use dynamic variables to pass user-specific context like CRM data or recent account activity directly into the agent’s working memory at the start of a call.
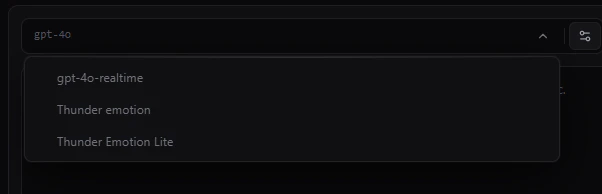
AI Provider Settings
Click the settings icon next to the model name to configure the underlying LLM:- Model: Choose the reasoning engine (e.g., Thunder Emotion Lite) powering the agent.
- Voice: Click the voice selector button on the right side of the agent model field to open the voice picker. You can preview voices and select the one your agent should use.
- Temperature: Adjust the creativity of the responses. Lower values produce strict, predictable outputs; higher values allow for more dynamic conversation.
- Structured Output: Toggle this to force the model to return strict, schema-compliant responses (useful for data extraction).
Welcome Message & Turn-Taking
At the bottom of the prompt editor, configure how the call begins:- Welcome Message: Define the exact phrase the AI should say when the call connects.
- Start Speaker: Choose whether the User speaks first or the AI starts speaking after silence.
Agent Configuration
The right sidebar contains granular controls for your agent’s capabilities and telephony behavior.Functions
Functions
Equip your agent with custom tools. This allows the AI to fetch real-time data, trigger webhooks, or interact with external APIs during a conversation.
Calendars
Calendars
Enable scheduling capabilities. You can link your agent to a specific Lead Connector (GoHighLevel) calendar or a Cal.com event type, allowing the AI to negotiate times and book appointments automatically.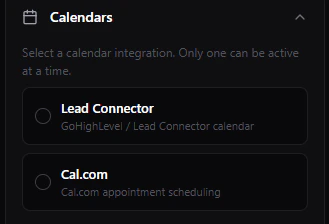
Speech Settings
Speech Settings
Fine-tune the conversational dynamics and audio profile:
- Background Sound: Add ambient noise (e.g., office hum, static) for realism.
- Responsiveness & Interruption Sensitivity: Control how quickly the AI replies and how easily the user can interrupt it.
- Enable Backchanneling: Allow the AI to use filler words (e.g., “Mhm”, “Yeah”) while listening.
- Enable Speech Normalization: Convert complex numbers and dates into natural spoken forms.
- Reminder Message Frequency: Configure how often the AI prompts a silent user.
Call Settings
Call Settings
Configure the telephony rules for this specific agent: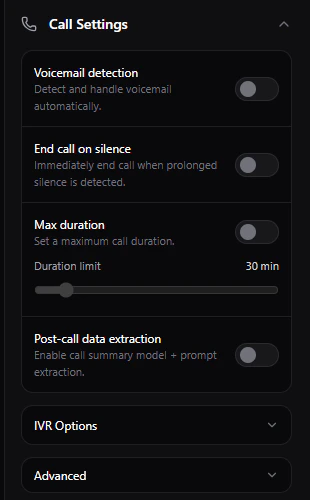
- Voicemail Detection: Automatically detect and leave a predefined message if a machine answers.
- End call on silence: Disconnect automatically after a prolonged period of dead air.
- Max duration: Set a hard limit on call length.
- Post-call data extraction: Automatically summarize the call and extract key data points.
Webhook Settings
Webhook Settings
Add webhook URLs to receive automatic event notifications (like transcripts, summaries, and extraction data) the moment a call concludes.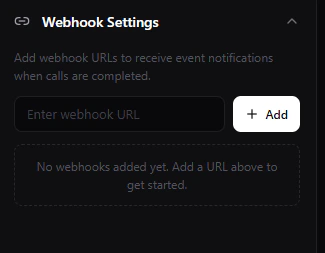
Testing Your Agent
Agni provides a built-in testing environment so you can simulate conversations before deploying your agent to production.Web Call
Test the agent directly through your browser’s microphone and speakers.- Input values for any Dynamic Variables you included in your prompt.
- Inject custom Metadata (JSON) to simulate data passing.
- Click Start Web Call to connect.

Phone Call
Test how the agent sounds over an actual cellular or VoIP network.- From Number: Select one of your provisioned Agni phone numbers to act as the caller ID.
- To Number: Enter your personal cell phone number.
- Click Start Phone Call to initiate an outbound call to your device.

API Reference
Once your agent is configured and tested, you can deploy it programmatically.Create Agent API
Create new agents programmatically via the REST API.
Manage Agents
Update prompts, settings, and functions for existing agents.